Description
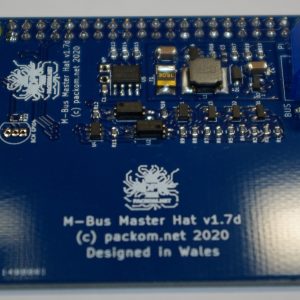
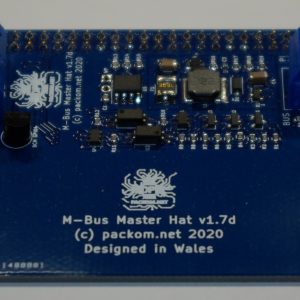
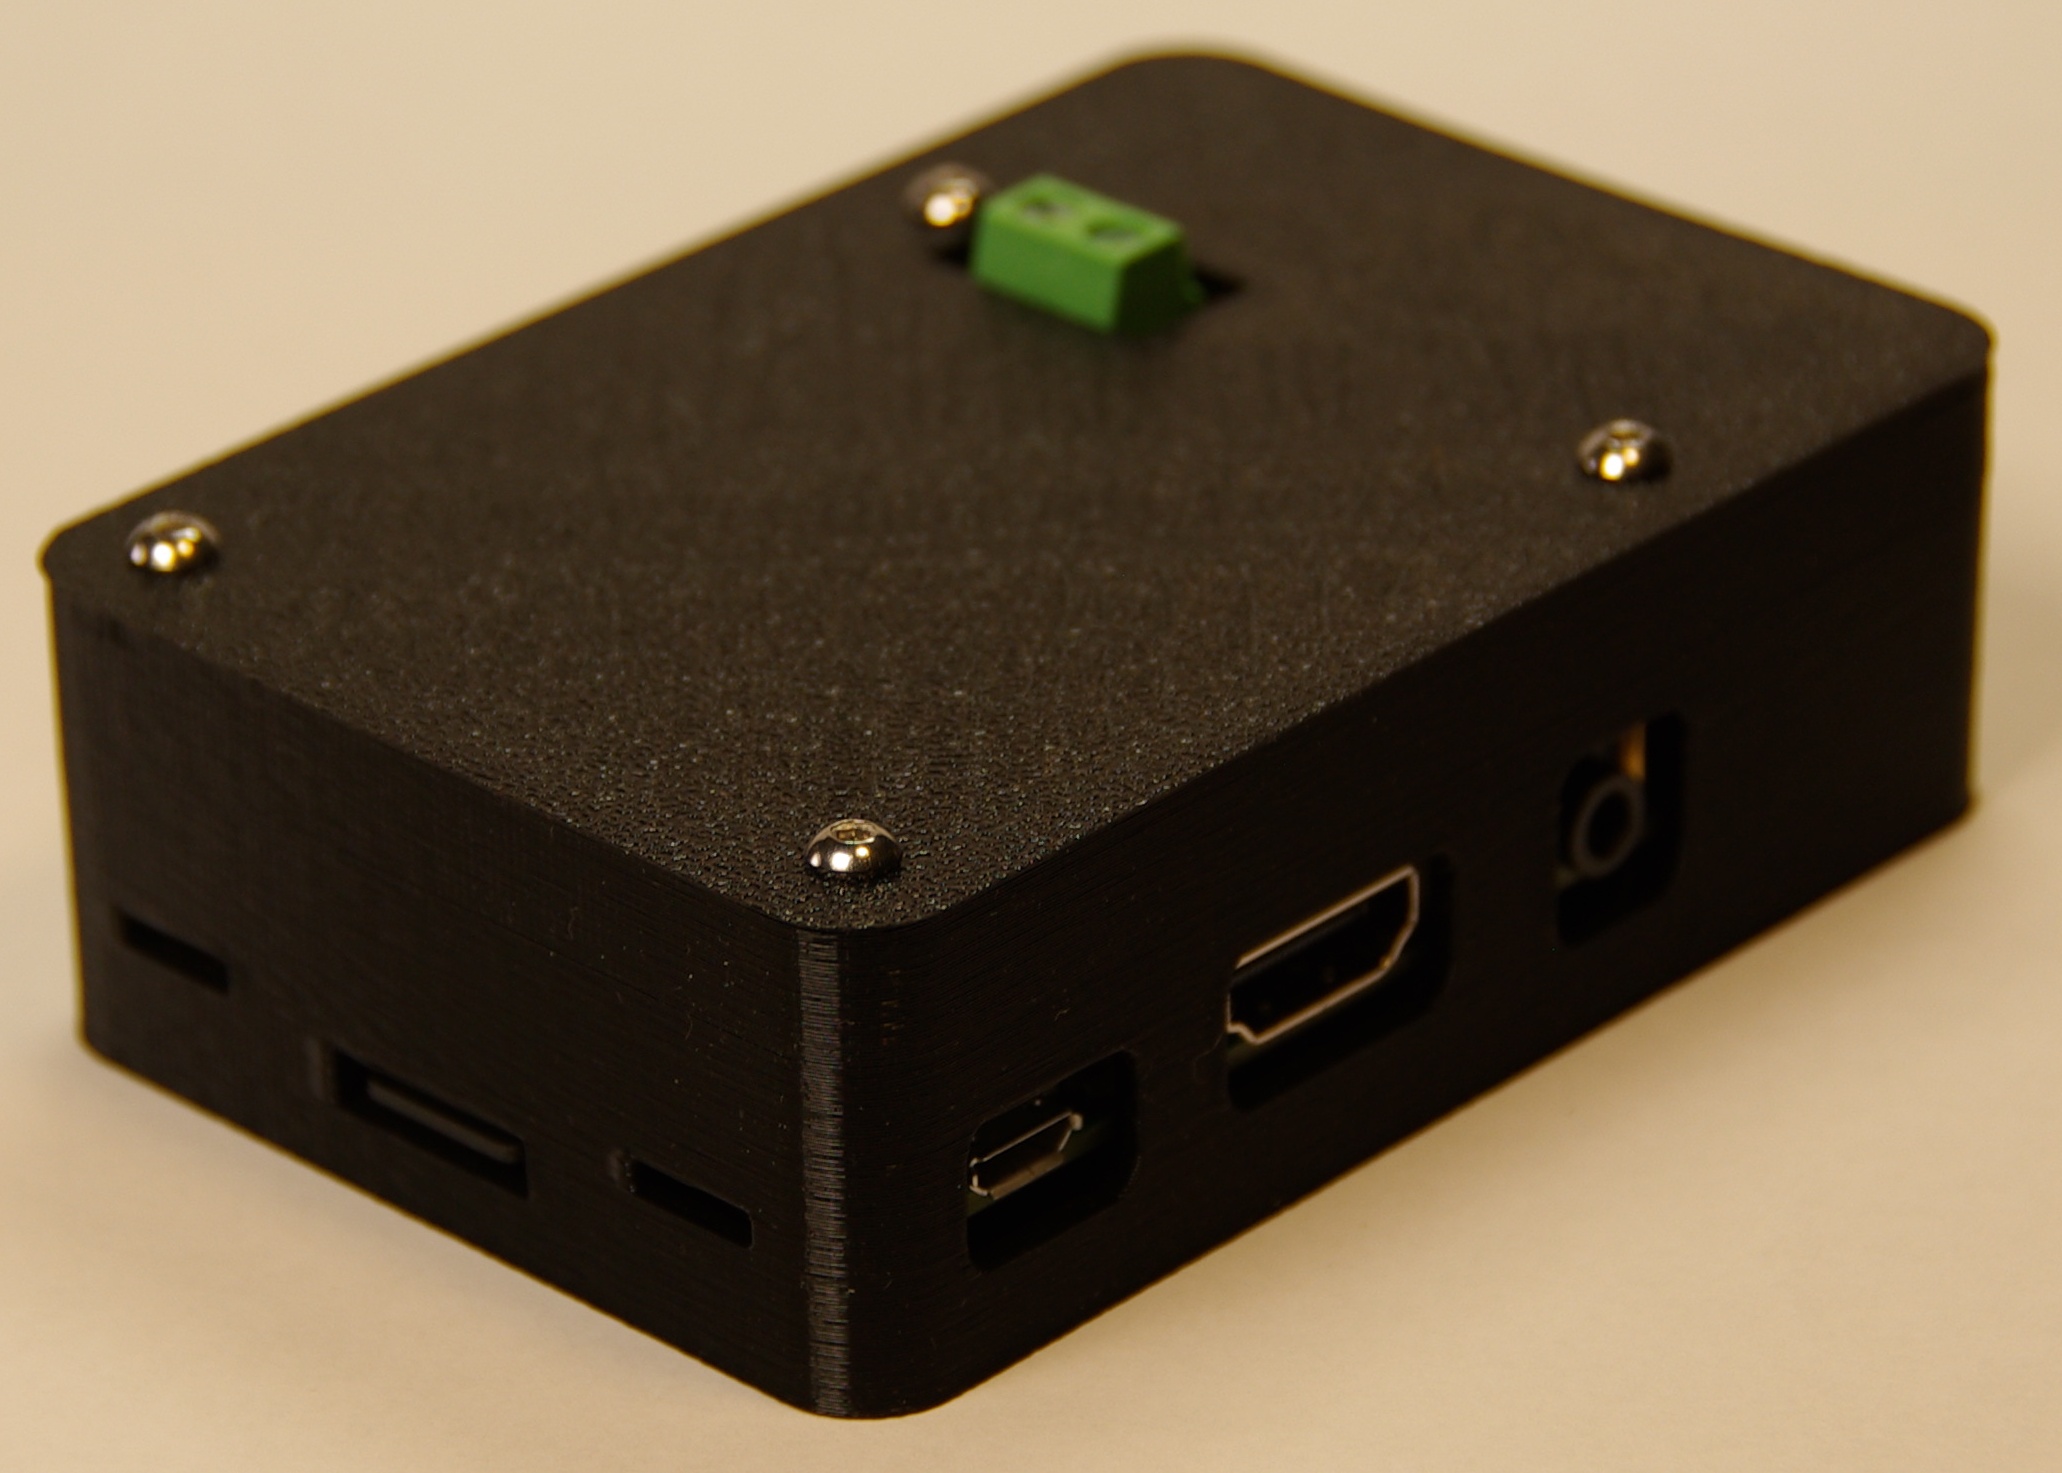
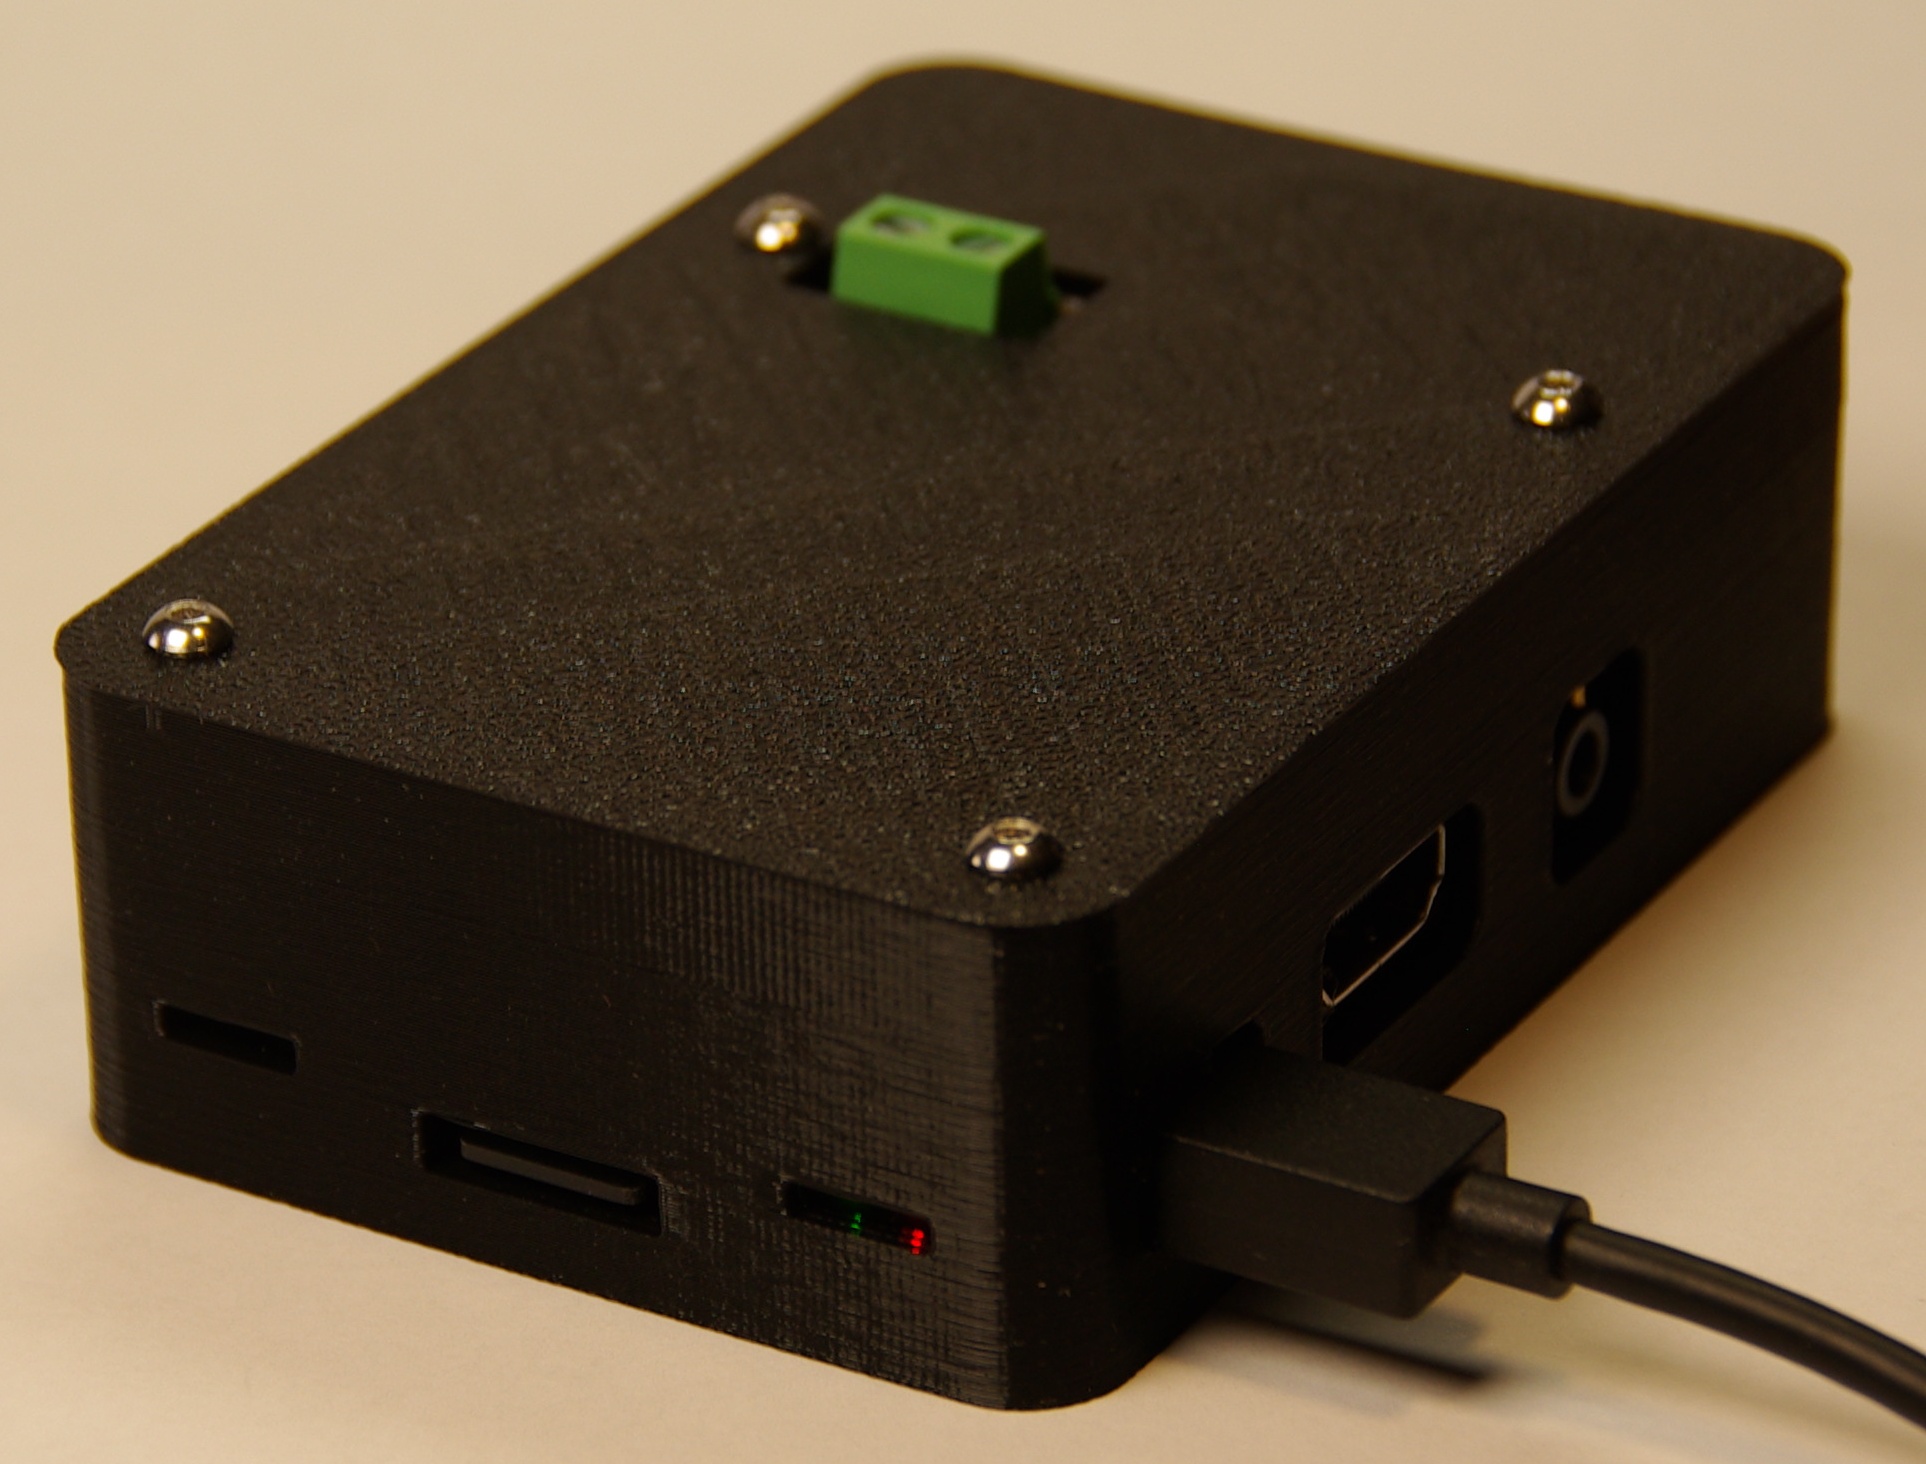
This is a case for a Raspberry Pi installed with an M-Bus Master Hat or M-Bus Master Hat DS.
Included:
- One case (comprising bottom top sections).
- Standoffs and screws to install a Pi and Hat.
Raspberry Pi, M-Bus Master Hat and screwdriver/hex head driver not included, .
A single variant of the case supports:
- Pi 3 Model B+
- Pi 3 Model B
- Pi 2 Model B
- Pi 1 Model B+
A single variant of the case supports:
- Pi 3 Model A+
- Pi 1 Model A+
A single variant of the case supports:
- Pi Zero WH
- Pi Zero W
- Pi Zero
For information on shipping see here.
There are two mounting variants. If your case has embedded threaded inserts in the mounting holes:
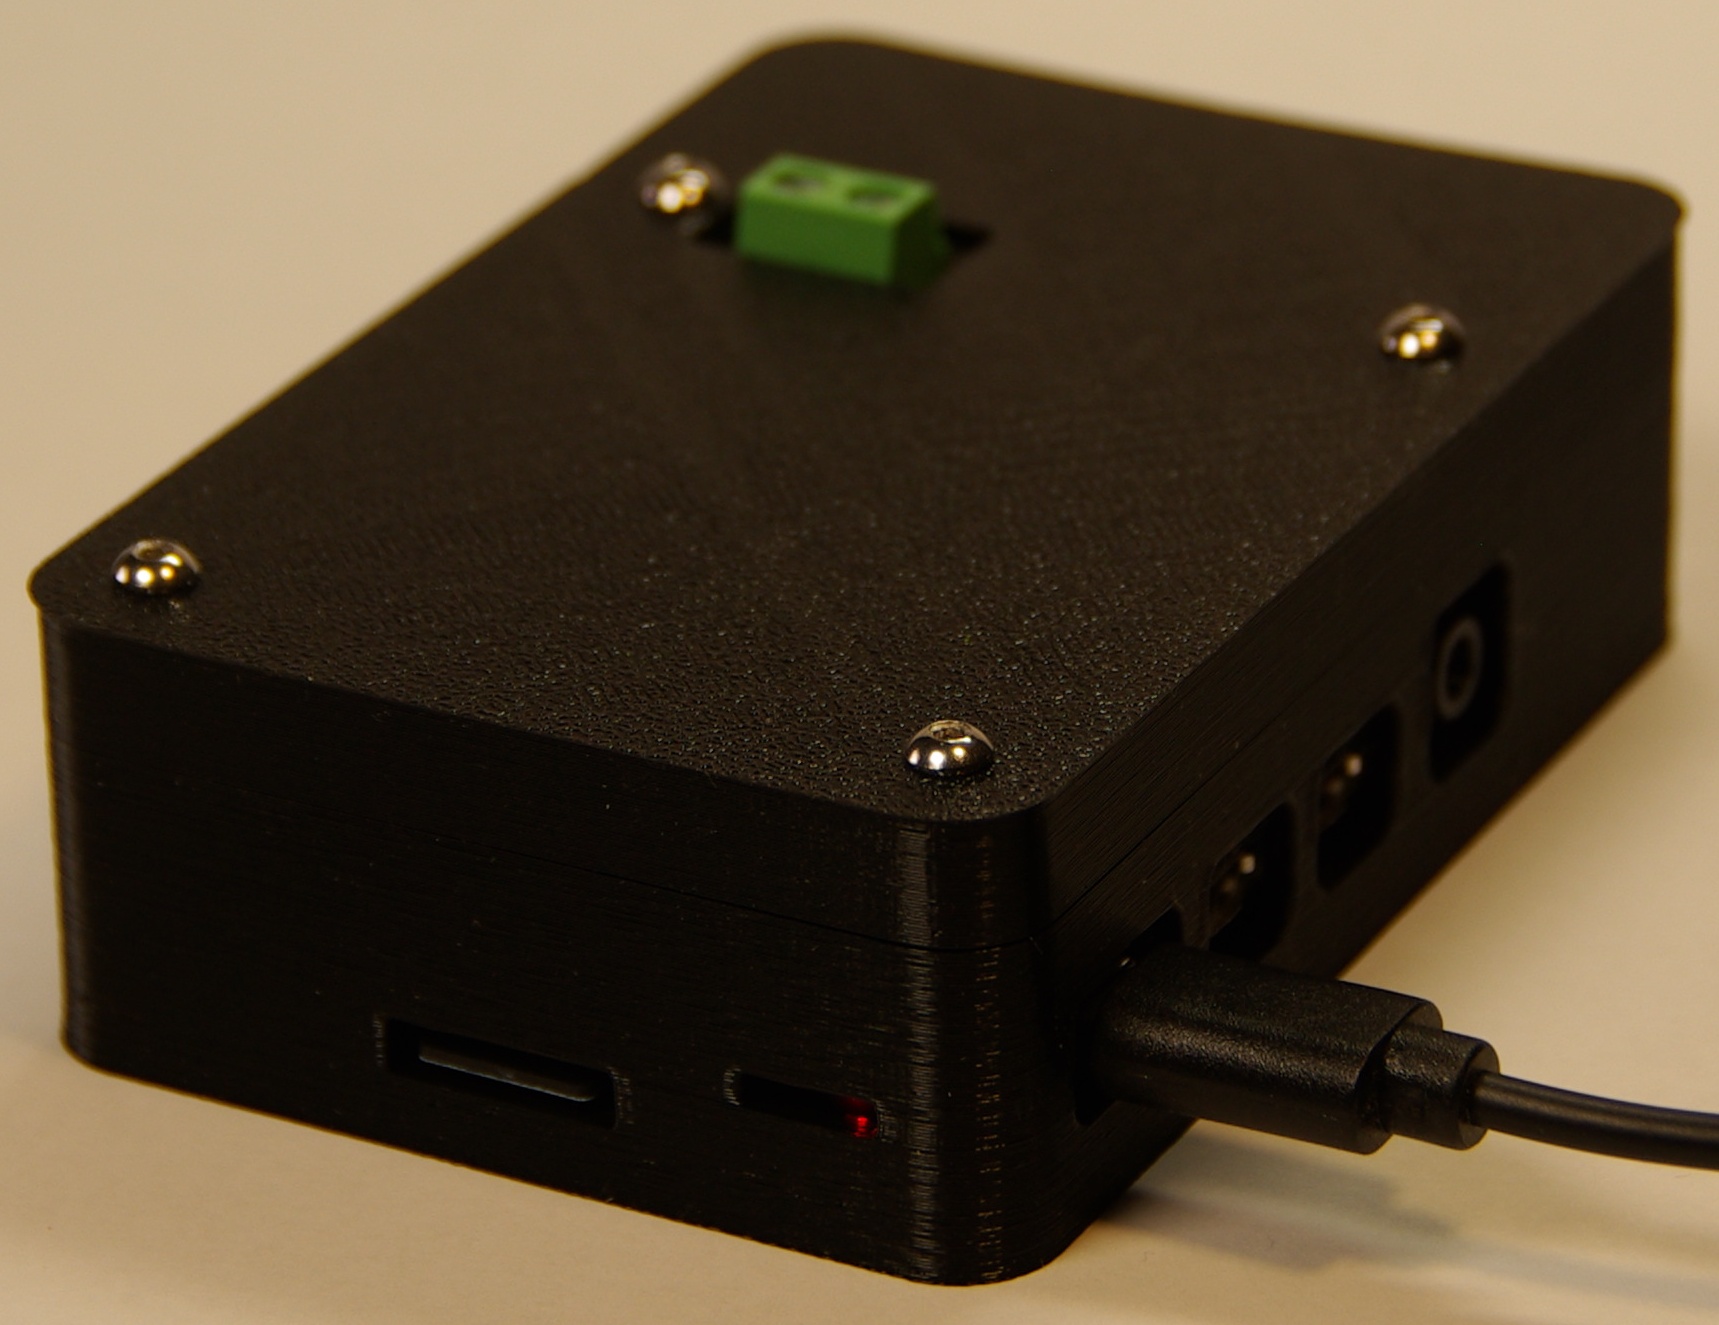
- Place the Hat in the case, lining up the Pi’s PCB screw holes with the mounting holes in the bottom section of the case. Be careful to align the Pi’s SD slot and ports carefully with the holes in the case.
- Using the M2.5x11mm standoffs (supplied separately, with the Hat) screw the Pi to the case.
- Install the M-Bus Master Hat.
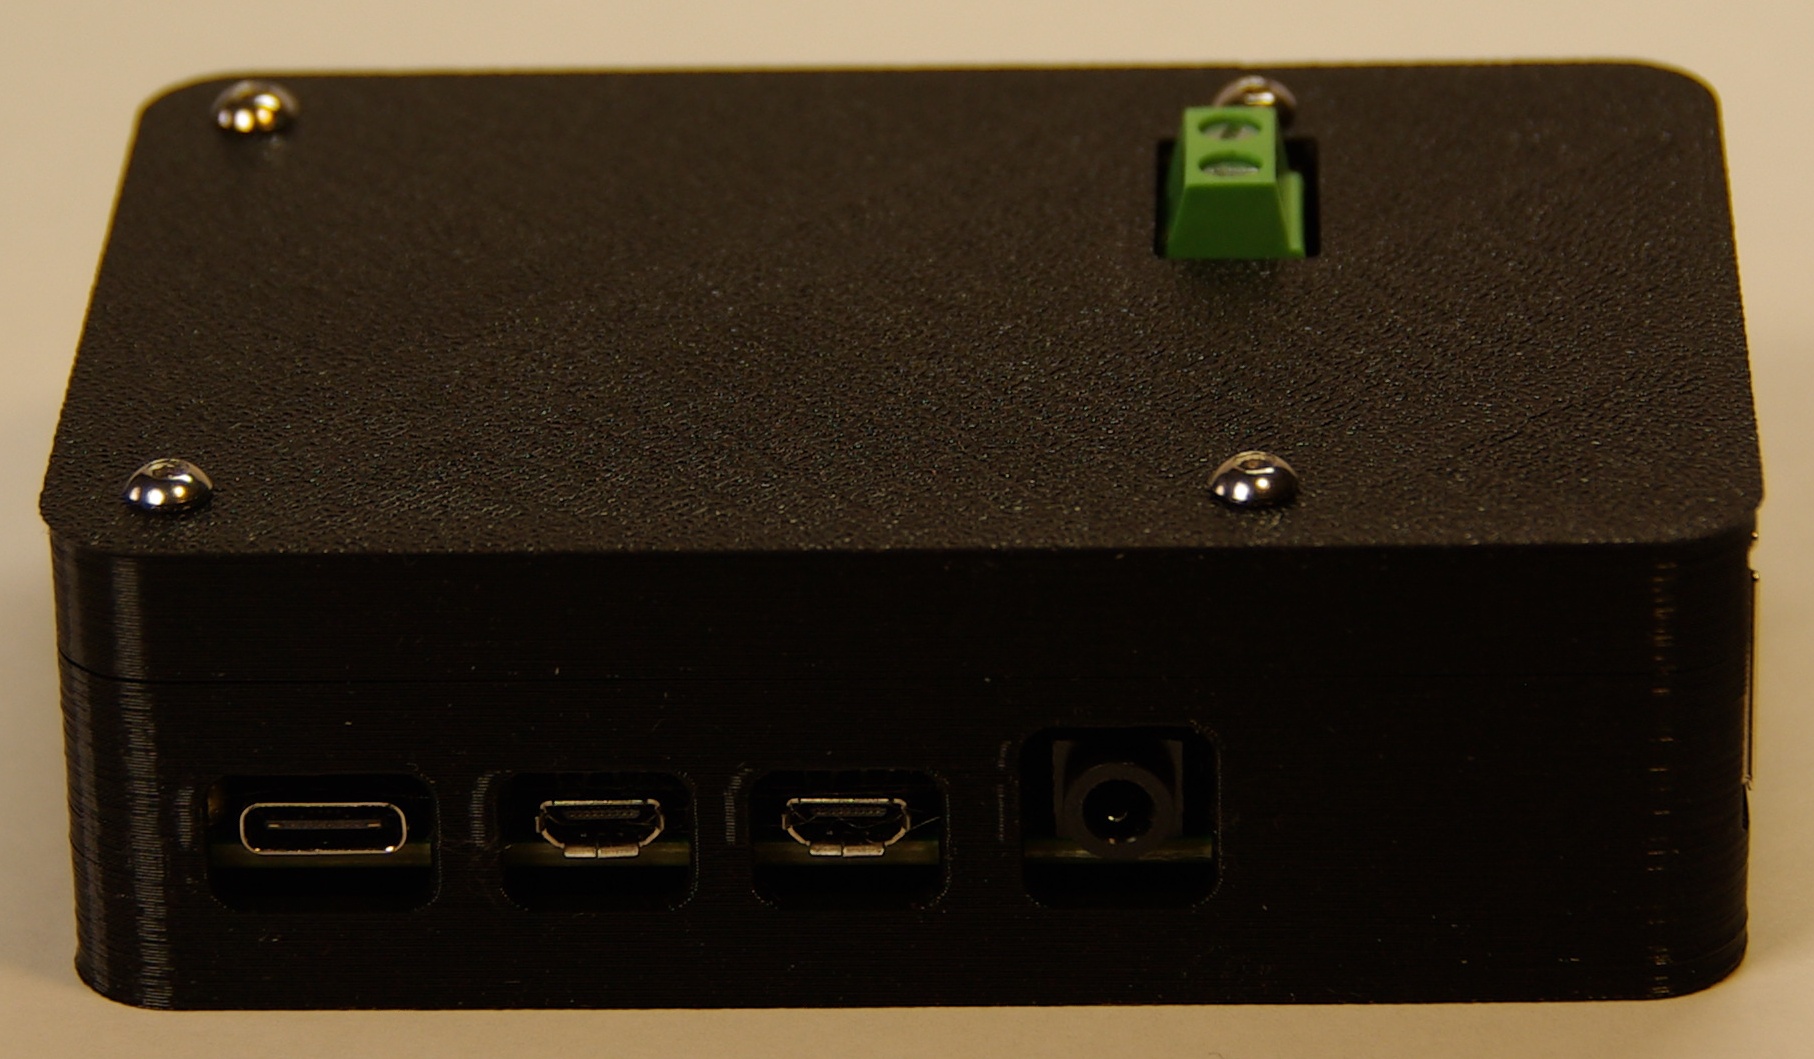
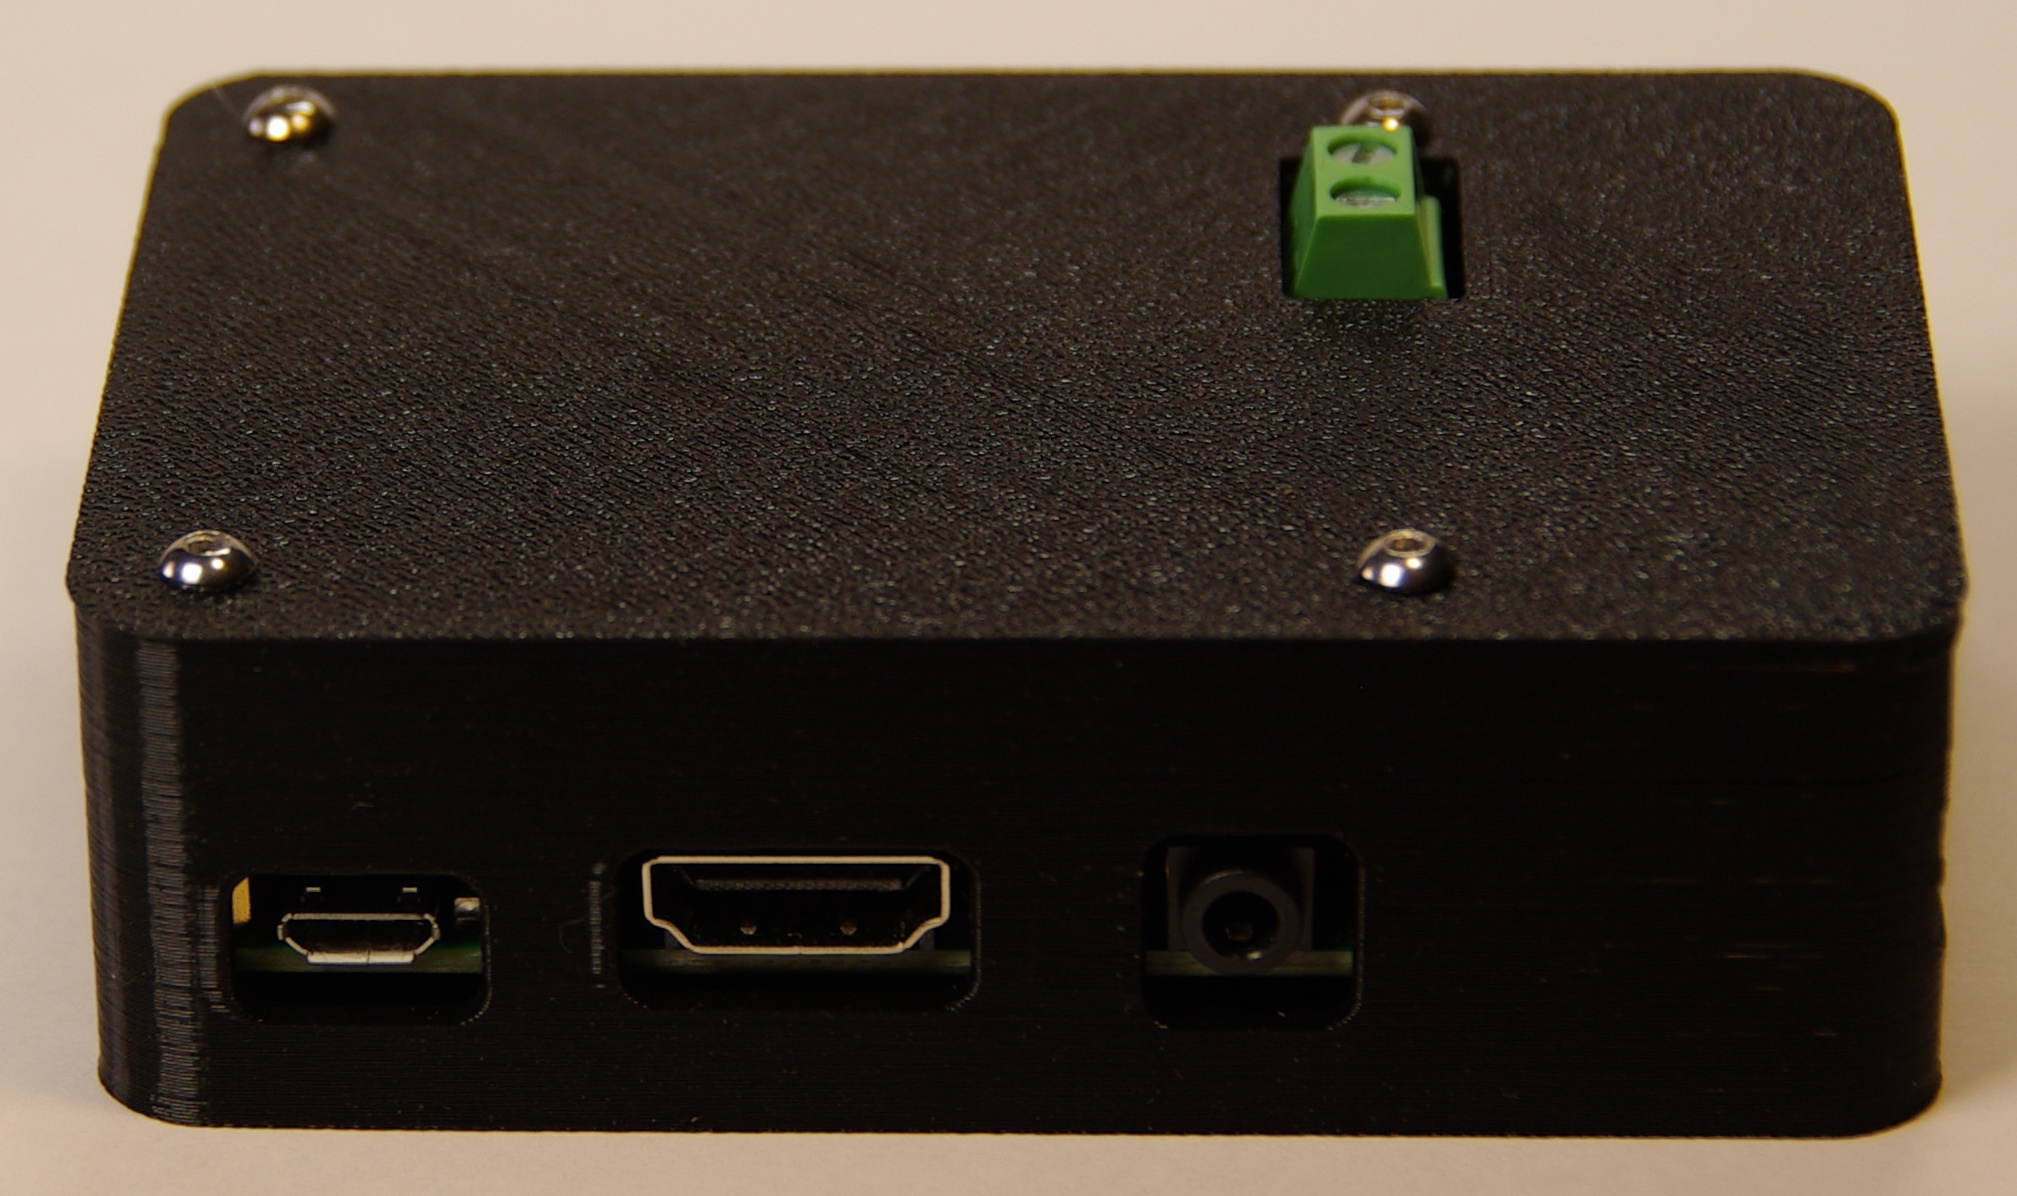
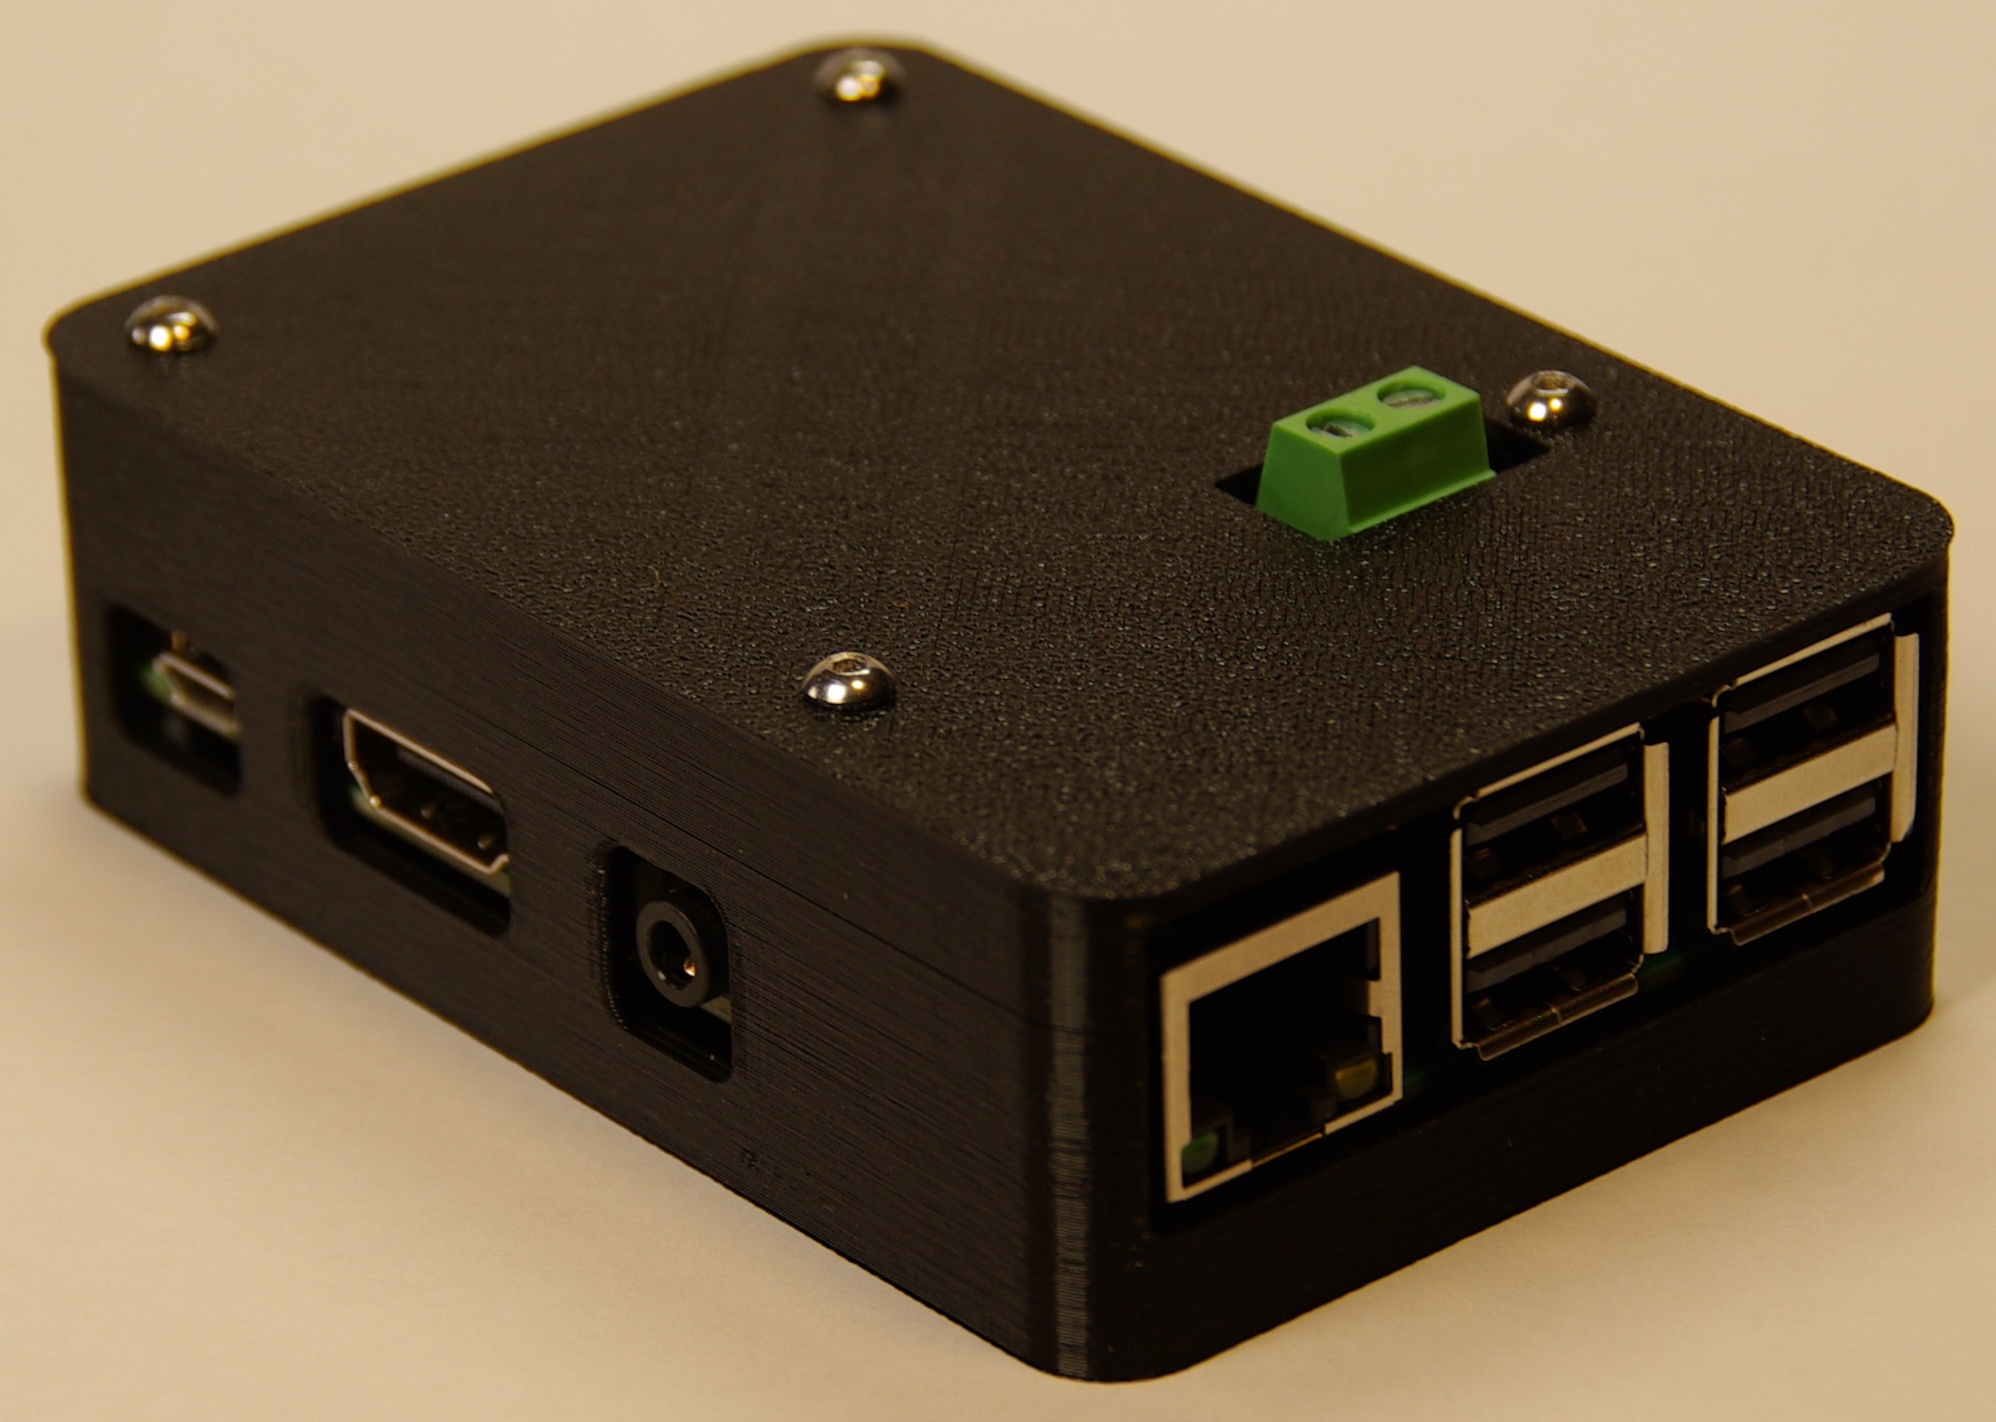
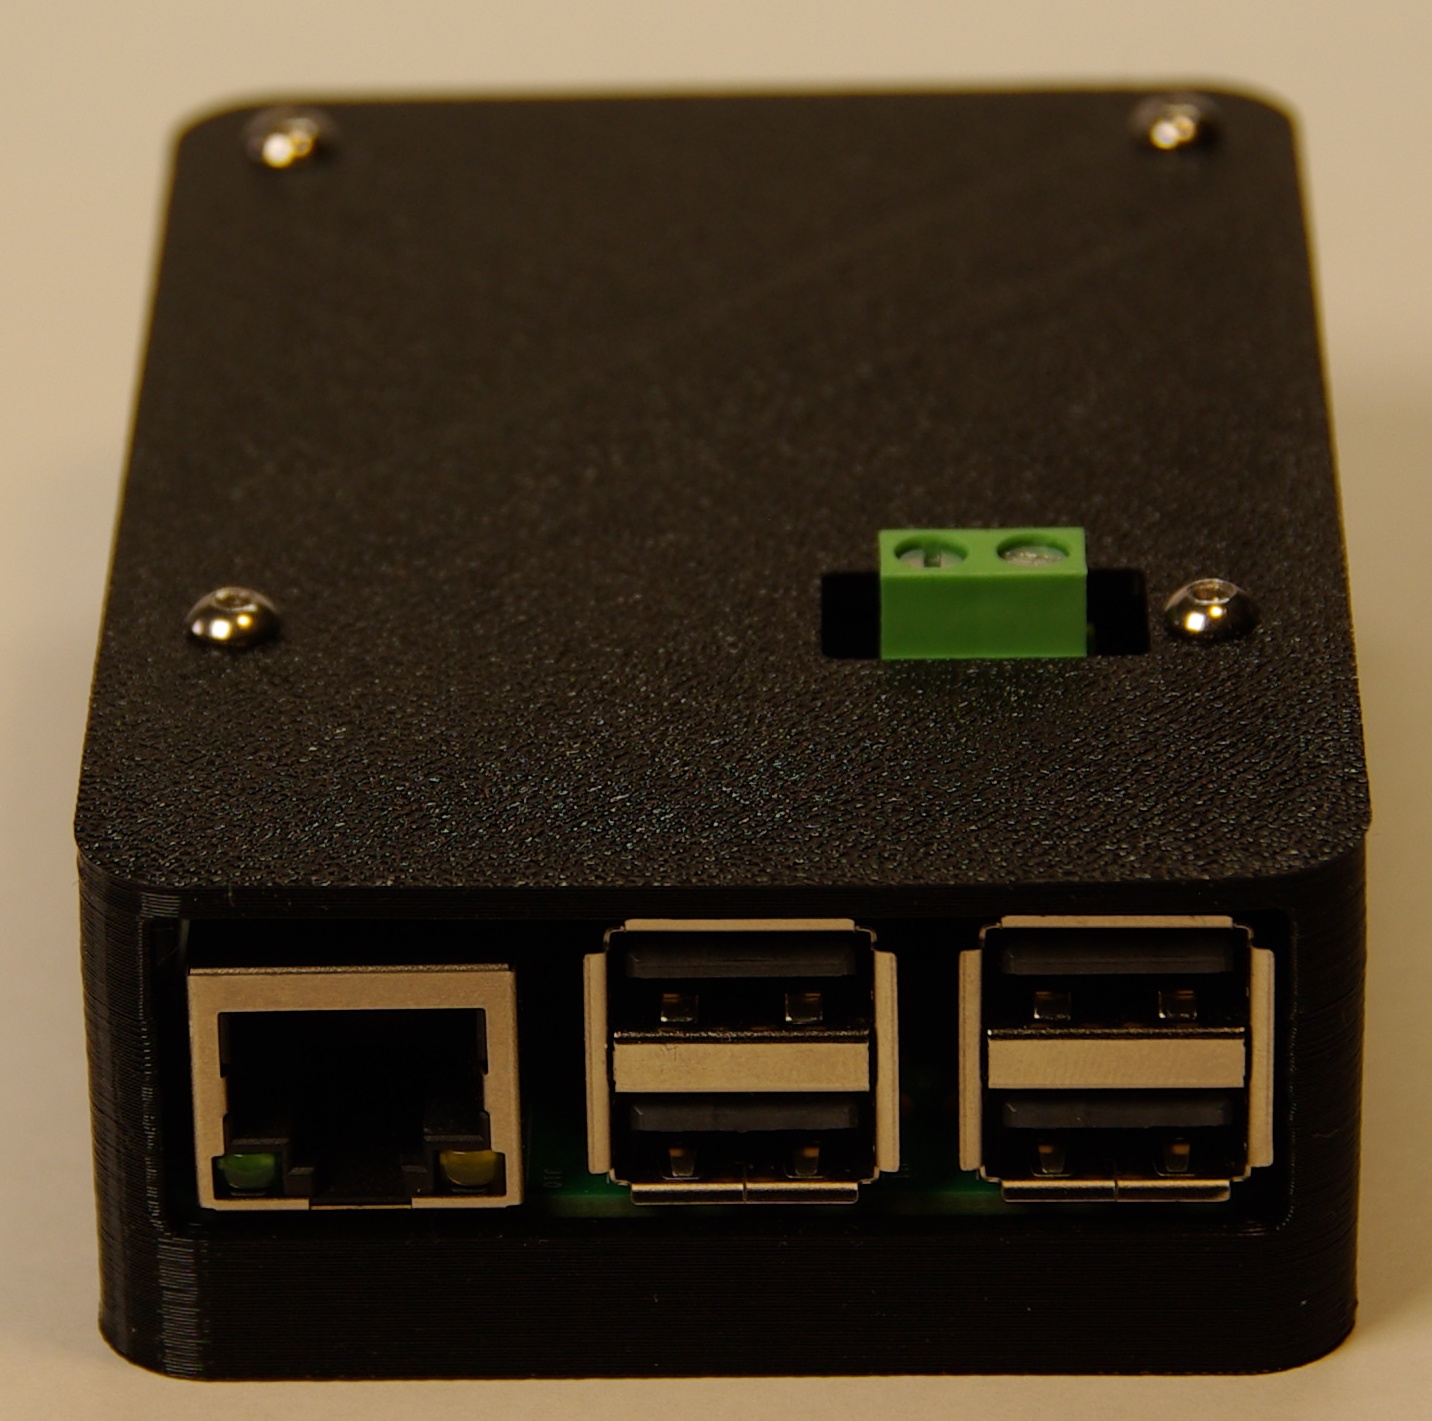
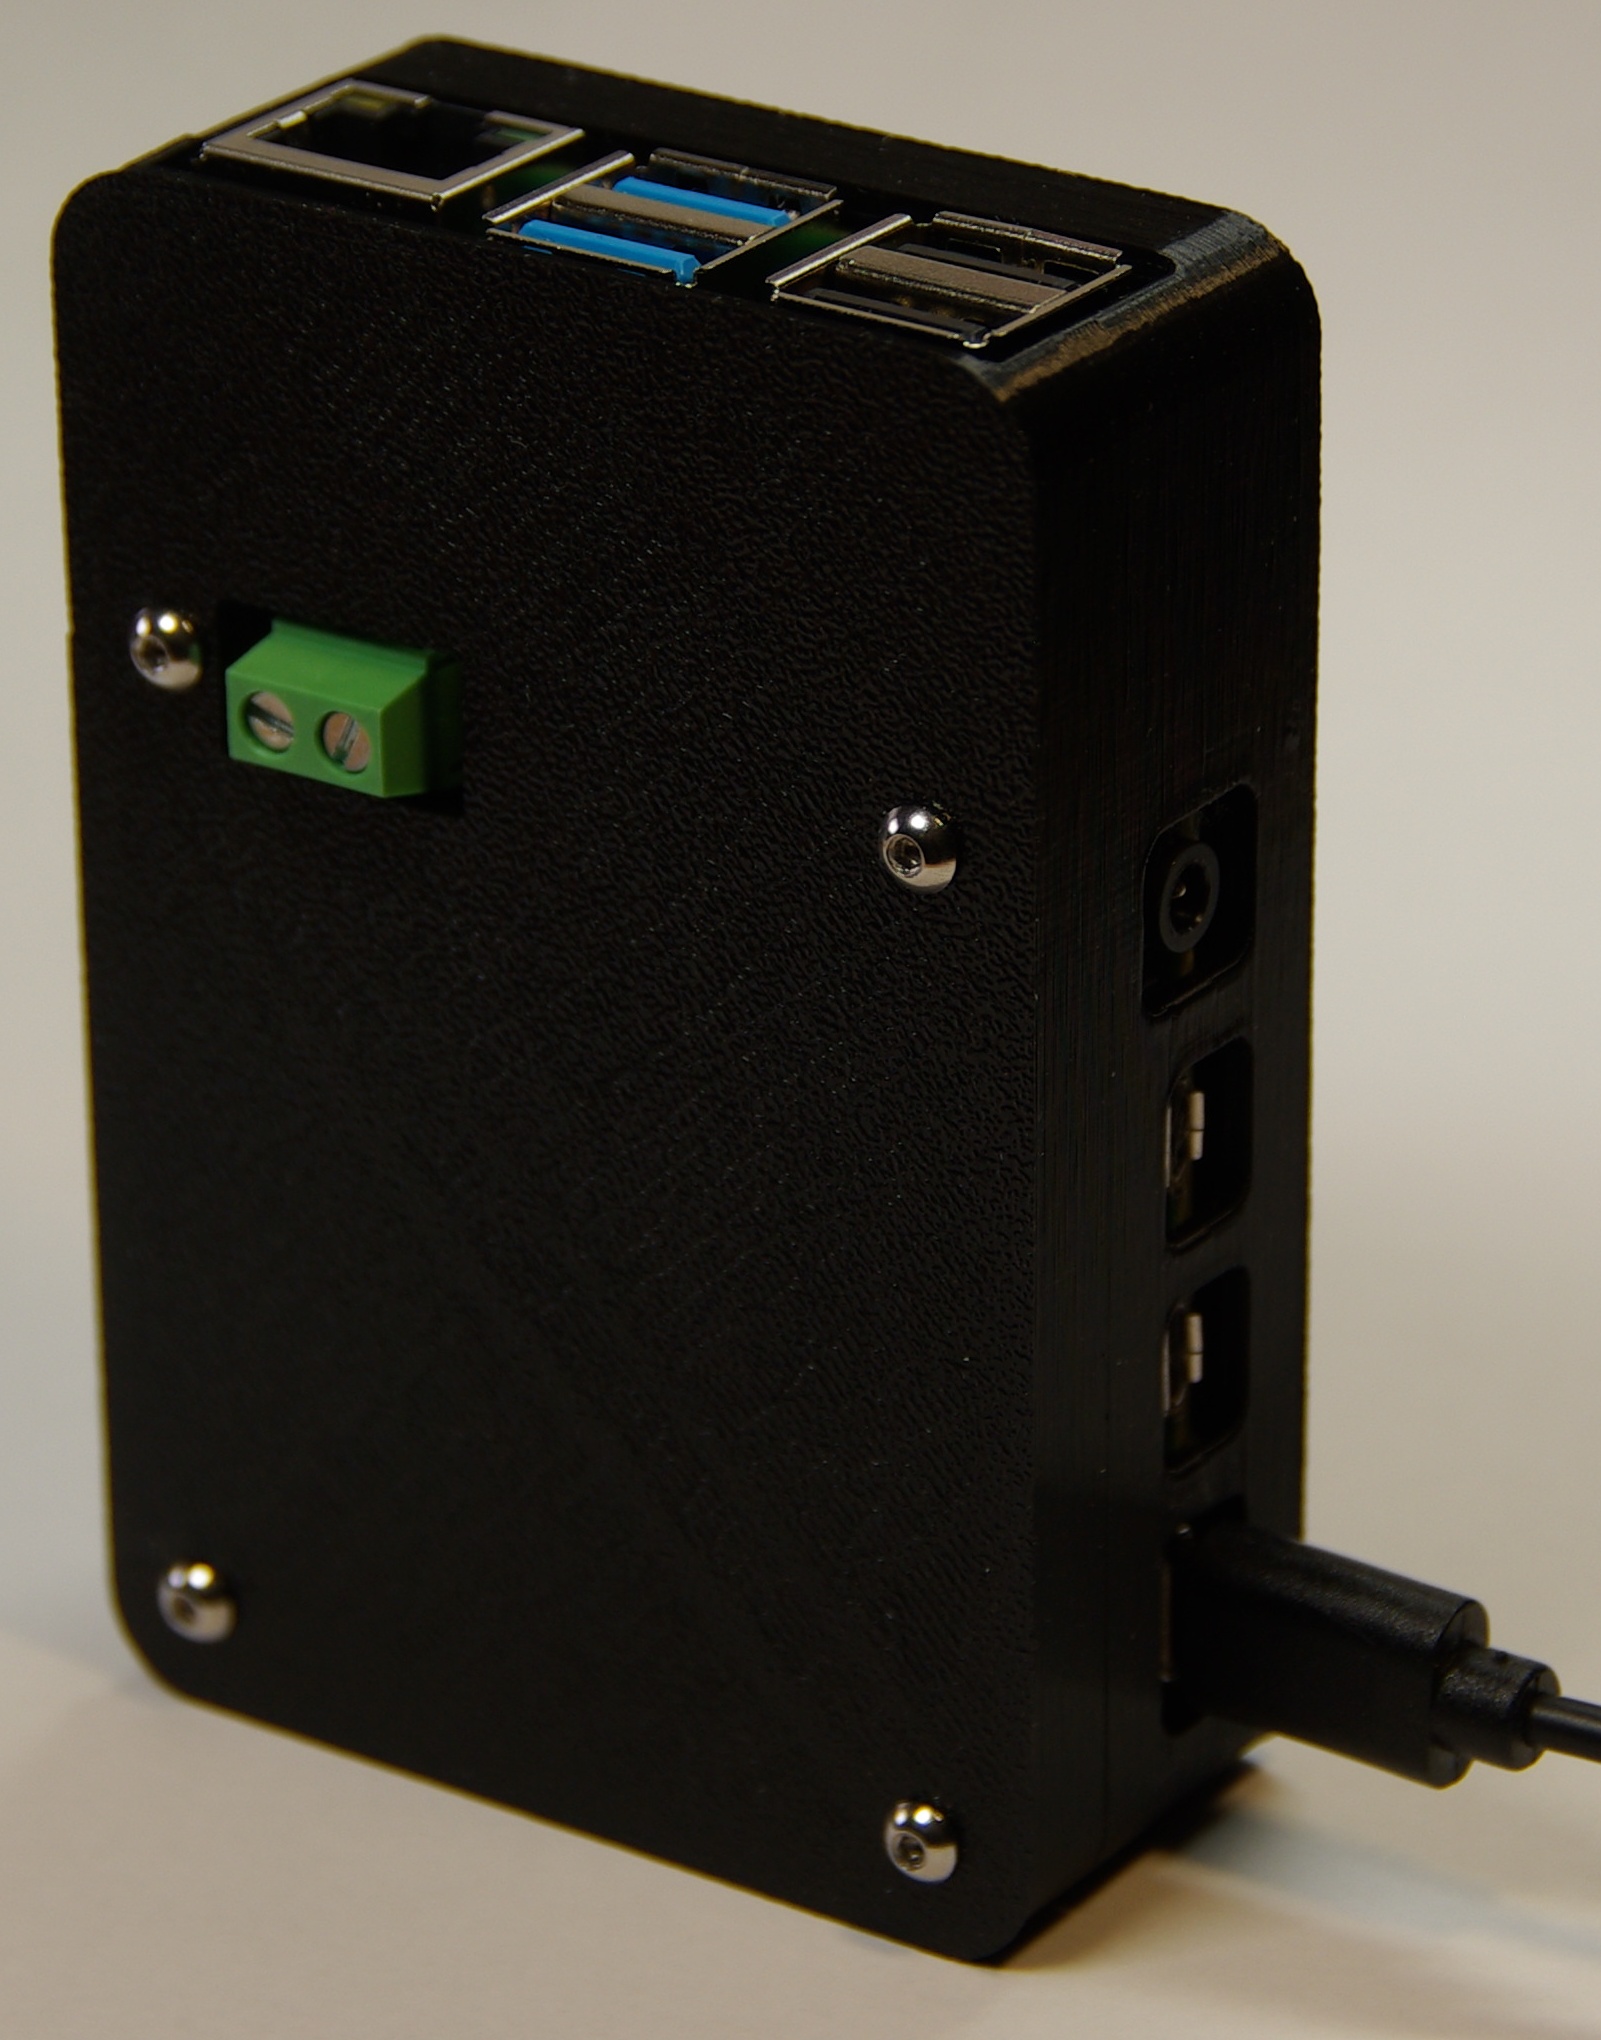
- Put the top section of the case on, lining it up so that the hole in the top is aligned with the Hat’s M-Bus port, and snap it into place carefully
- Using the M2.5x12mm (16mm for the Zero hat) screws fix the case through the Hat to the standoffs.
If your case comes with separate nuts and hex holes in the bottom:
- Place the Hat in the case, lining up the Pi’s PCB mounting holes with the mounting holes in the bottom section of the case. Be careful to align the Pi’s SD slot and ports carefully with the holes in the case.
- Use the supplied hex shaped tool to push the nut through a hole in the bottom (this may take some force as the nut is a tight fit). Use the tool to hold the nut in place, while threading the M2.5x11mm standoffs (supplied separately, with the Hat) through the Pi mounting holds into the nut. A hex driver tool is supplied to aid in screwing the mounting posts in.
- Install the M-Bus Master Hat.
- Put the top section of the case on, lining it up so that the hole in the top is aligned with the Hat’s M-Bus port, and snap it into place carefully
- Using the M2.5x12mm (16mm or 20mm for the Zero and A+ hats) screws fix the case through the Hat to the standoffs.
The cable connecting to the M-Bus slaves can either be fed through the hole on the top of the case, or in the side next to the Ethernet and USB ports.
Depending on the screws provided you will either need a 1.5mm hex head or cross head/posidrive driver.
If you’d like to print your own case, you can find STL files on github.